Etching Silver with Acid Resists & a CO2 Laser.
The second design built off of the landscape demonstrated previously was a charm designed to fit on Pandora bracelets. This was cast in sterling silver by Shapeways, rather than home casting. Due to the small size of the charm only extremely simple designs were possible within the casting itself. Unfortunately CO2 lasers are largely incapable of processing silver due to its high reflectivity at the 10.6um wavelength. For a higher detail feature, I decided to use chemical etching in combination with a resist to add a photograph to one side of the charm.

The model is 12mm x 12mm when viewed from the top, and 14mm tall at the highest peak. The beveled center is 5mm in diameter, allowing for both Pandora chains and threaded rod to pass through it easily. It is not tapped, so it’s not appropriate for end sections of bracelets and should be sandwiched between other tapped charms.
I wasn’t sure how well the etching process would work, so I created a set of charms using figures dictated by the minimum design standards Shapeways permits on silver pieces. One is a sailboat, and the other is a small house. This gives you some idea of the resolution possible with pure casting designs:
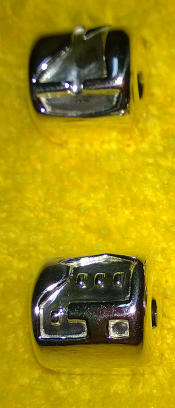
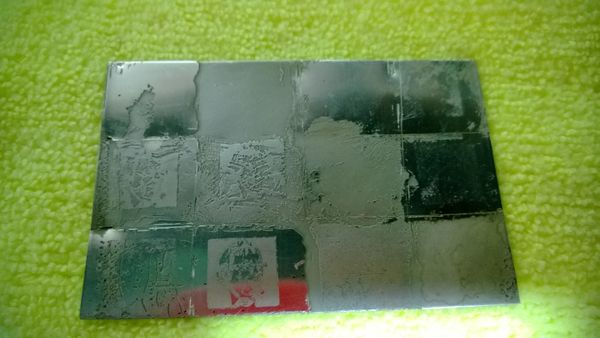
Additionally two charms were cast with simple blank curved faces for etching. I purchased several small sheets of sterling silver to experiment with different resist materials and techniques. I won’t go into too much depth as to the methods that didn’t work well, but here’s some pictures of my initial test sheet:
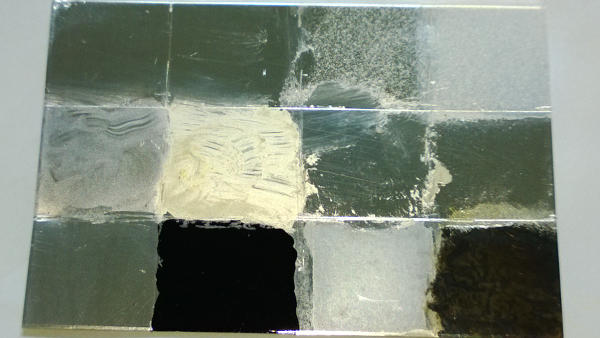

Different transfer methods were used to treat the material and selectively remove resist and allow the acid to eat away the silver. Some worked better than others, some didn’t work at all...
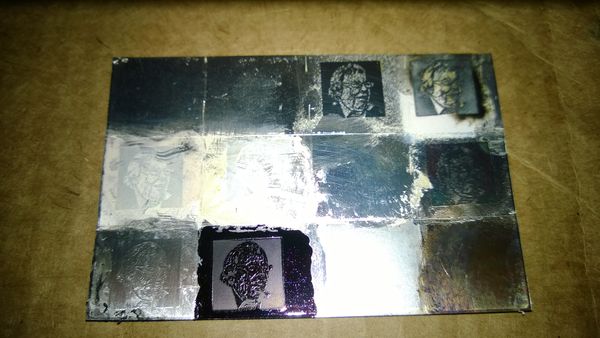

The samples were then exposed to ferric nitrate for about 3 hours, then removed and neutralized:

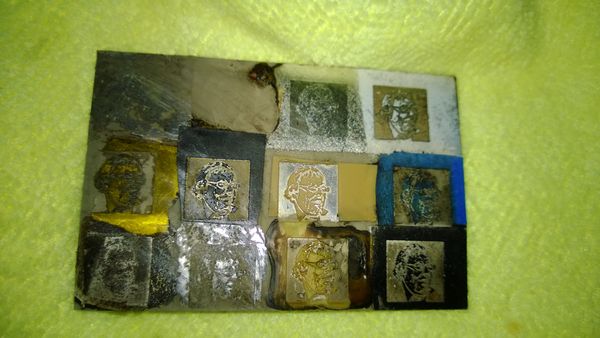
After cleaning off all resist material (using a combination of solvents, abrasives, and ultrasonic cleaners depending on the material):
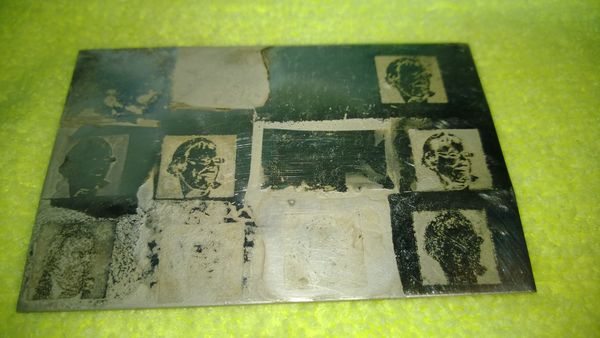
A second round of tests was conducted with some of the most promising techniques and a few refinements:

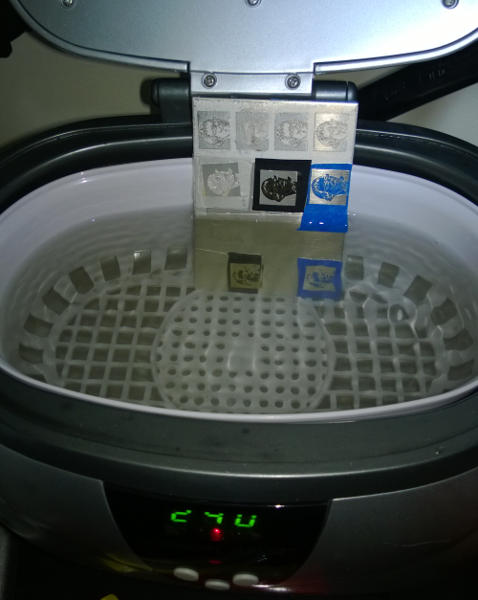
Another 2 ½ hours in the acid bath, and we have some very promising results.
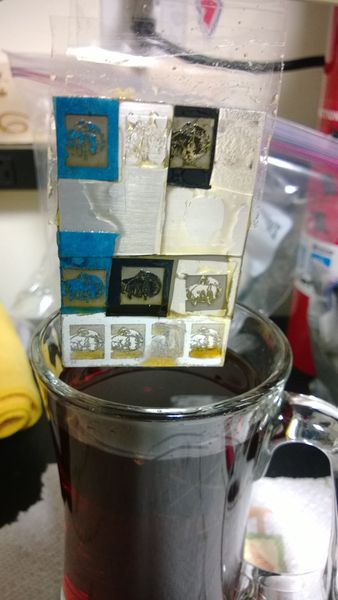
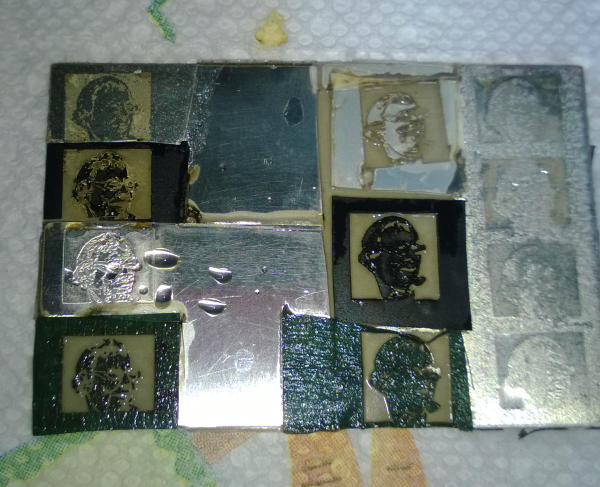
And cleaned up:

Although it’s difficult to tell from these pictures, these results let me to what I believe to be an efficient method of resist etching silver.
First, I converted an image of my grandmother to a 2-color image using Gimp with a comic book filter (for texture), followed by using a threshold and then manually editing. The goal is to get the largest possible solid blocks of either black or white. Individual pixels will not be well transferred during the laser cutting process.
Next I took a piece of Scotch blue painters tape and suspended it tightly between two standoffs within the laser cutter. Extensive testing yielded the best possible results when engraving this image into an unsupported piece of tape at 1200 dpi, 40% maximum speed, 12% maximum power (60 watt CO2 laser from the Epilog Corporation). 10% power or less and the tape was not completely cut in fine (~3 pixel) lines. 14% or more power and the tape was burning wider than the line and leading to over-etching and loss of detail.
While unsupported, the tape will not be perfectly flat, so make sure you focus the laser after every cut. I cut several copies of the image, and chose the one that looked best under a 5x jewelers loupe.
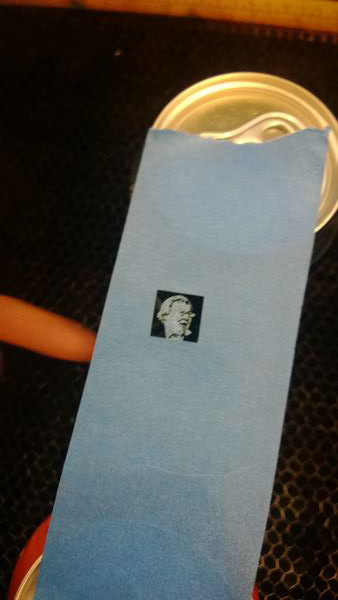
It is vitally important when doing etching that the piece is extremely clean. Even a fingerprint will serve as a small resist for the acid and lead to an irregular etching. I first used an ultrasonic cleaner on the piece to be engraved, followed by a scrub with denatured alcohol on a cotton swab to remove organic residue, and then acetone on a cotton swab to remove any lingering adhesive or contaminants in the alcohol.
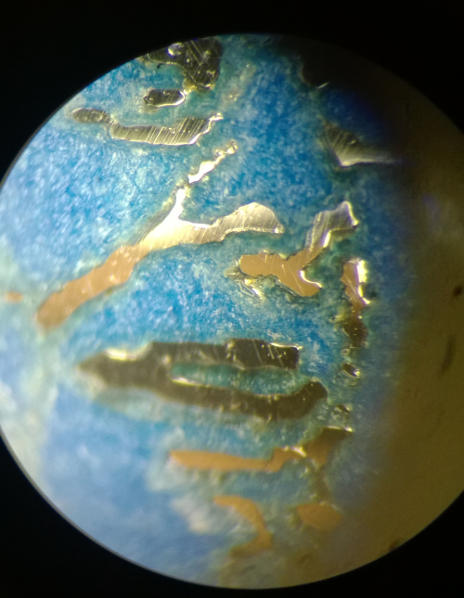
Next I pressed the cleaned silver charm up to the hanging resist, pressed it down with a clean swab and cut the resist away from the larger strip of tape using a razor. I used a microscope and a scalpel to clean up all remaining lines, ensure that the resist bits are completely separated wherever the laser fired, and reposition any small bits that shifted during the transfer. You can see small scratches in the sample below caused by the scalpel:

Once the resist is completed, the remainder of the piece was masked off using clear packing tape. We only want to etch away the background on the picture, not the entire piece. Even with that masking etchant ended up seeping into the masked parts of the piece (especially the center bore and the top landscape parts), leading to etching and damage to those parts. Doing it again, I would add a displacing material to the center of the piece, probably Vaseline or mineral oil (NOTE: I have not verified compatibility with those chemicals and ferric nitrite. Never mix chemicals without understanding the byproducts, especially dangerous acids).

One last trip to the ultrasonic bath removes any accidental contamination introduced while masking off the piece. Make sure it’s completely dry before etching, as wet painters tape doesn’t work as well as a resist as dry does, I suspect due to reduced surface tension.
Traditionally silver is etched with nitric acid. Nitric acid is some nasty stuff, so an alternative is to use ferric nitrate. Although still quite dangerous, it isn’t as deadly if used incorrectly.
Next I added 350g of ferric nitrate crystals to 300ml of hot water, and mixed until dissolved.

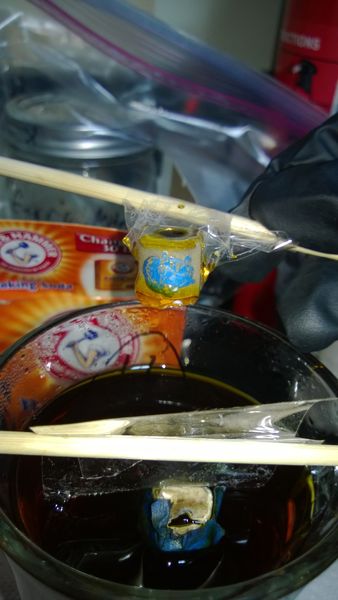
It’s important when using ferric nitrate for etching silver that your piece to be etched is pointed downward. This is because the material produced is mostly a solid precipitate (silver nitrate), rather than a liquid. If the precipitate sits on top of the piece, the ferric nitrate will not be able to touch the silver alloy and the etching will stop. This will at best slow the reaction, at worst make the etch irregular.
To do this, I mounted the piece on a strip of bamboo (ferric nitrate will attack metals other than silver as well). Then I suspended the bamboo on the lip of the ferric nitrate container. It was left in solution for 3 ½ hours. You can see the acid infiltrating the center of the piece in the picture below.
After the etch has achieved the desired depth, you need to neutralize all of the acid left on the piece and stop the reaction. This is easily done with an over-saturated solution of baking soda in hot water to keep the bath basic. The solution will quickly turn black due to the presence of iron.

Make sure the piece has completely reacted and absolutely no acid remains by repeatedly mixing the bath and dropping the base into hard to reach nooks and crannies. Then I flushed the piece with water for several minutes in various orientations, removed all mask and resist material, and applied a baking soda paste throughout the piece to ensure no traces of acid remained. A final ultrasonic bath and the piece was ready to be inspected. The results showed substantial etching in undesired locations, but good results for the desired picture:

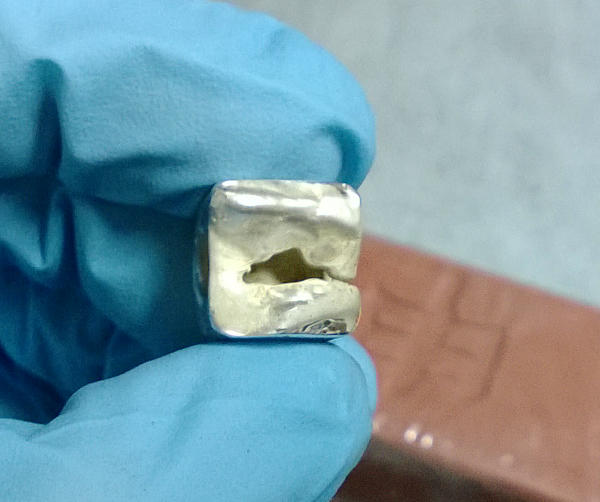
The etch was substantially deeper on the picture then the undesired locations, probably due to the precipitate falling on top of the model. To remove the undesired etching, I used jewelers rouge (a fine abrasive polish, visible as the red brick in the background of the above pictures) on micro buffing wheels. This is a very tedious process, too much pressure and the piece just looks scratched, too little and you can’t take the scratches out again. Eventually the pieces looked like this:
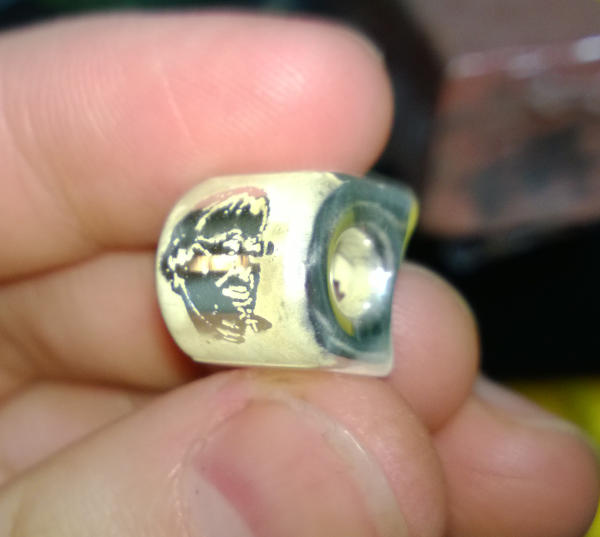

These are looking good, but still obviously inferior to the highly polished Shapeways pieces.

Shapways pieces on left, etched pieces on right.
They are good enough to switch to a liquid hand polish. I really like Simichrome, it’s good for a large variety of metals including silver, gold, and pewter with very minimal elbow grease. However, it contains some nasty chemicals so use care and personal protective equipment when using it. A couple of minutes later, it was looking show quality.
One last pass through the ultrasonic cleaner to remove any remaining Simichrome and fingerprints, a light buff with a silver polishing cloth, and this piece is ready to go to my family members.
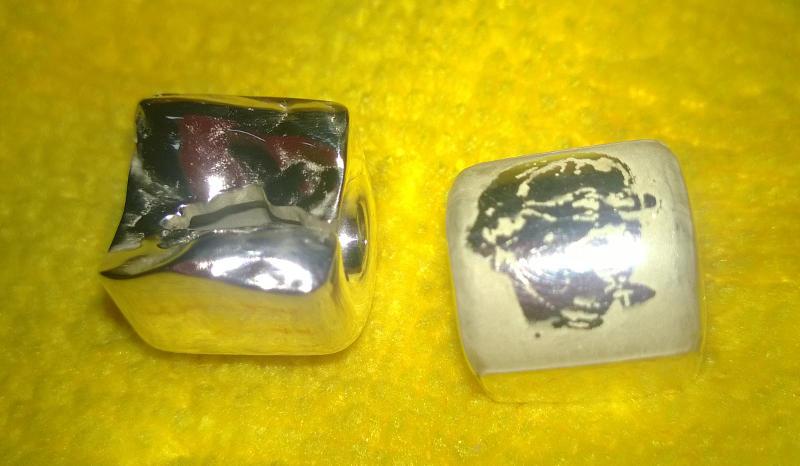
And here's a final comparison of etchings vs cast pieces.

